DIY Watercolor Word Art
We may earn money or products from the companies mentioned in this post.
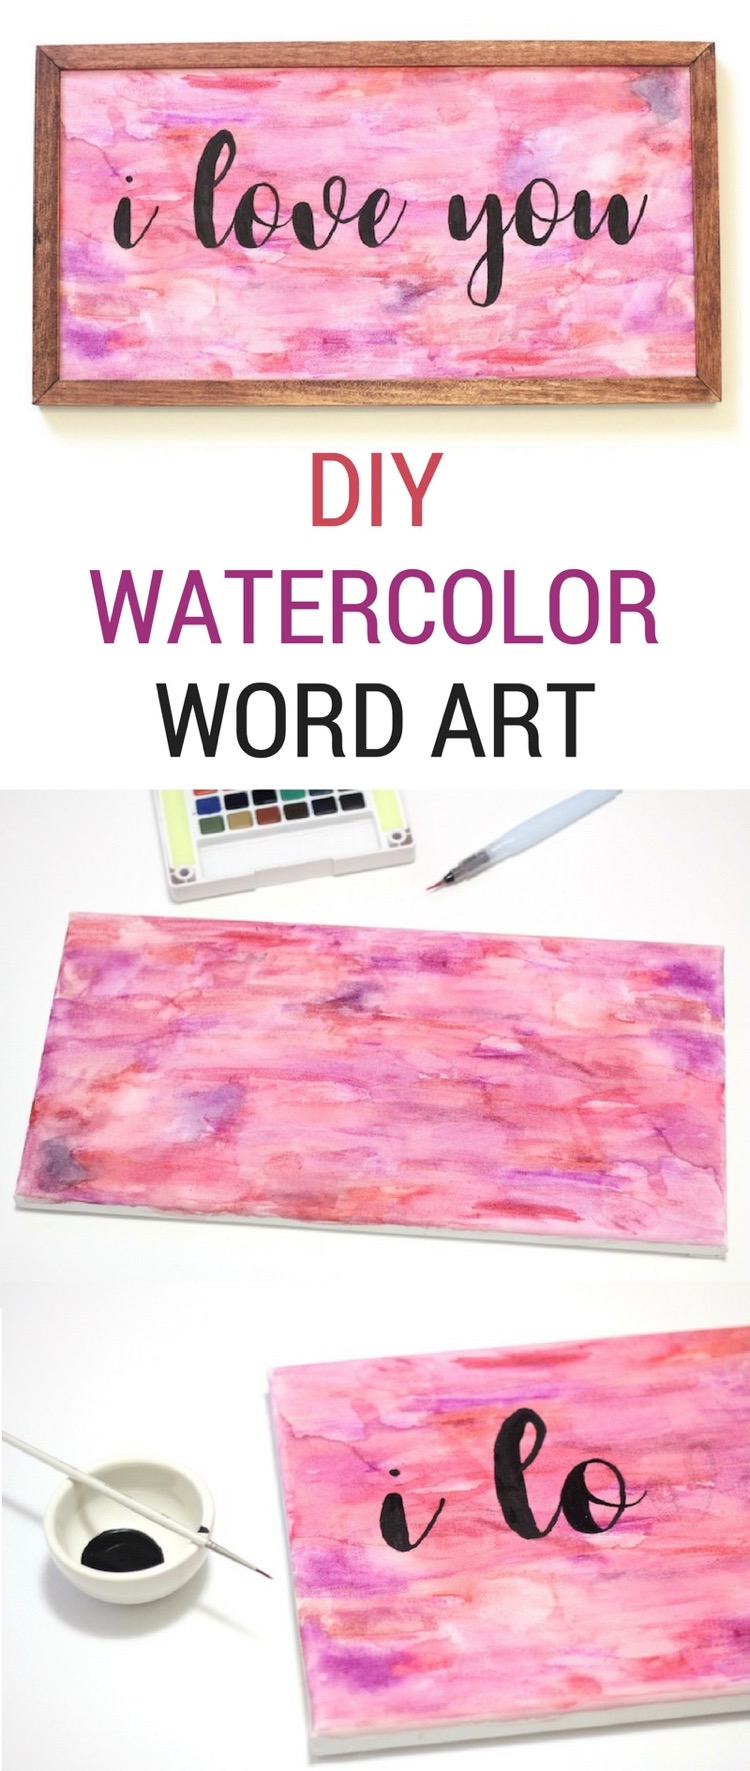
Oh how I love word art. Especially the hand lettered kind. But what do you do when your artistic abilities don’t go beyond drawing stick figures? You fake it! I’m going to show you how by transfering printed text using wax paper. You can say anything you want with your custom made watercolor word art.
You’ll need:
- Hand Made Modern wood frame canvas
- watercolor paint set
- acrylic paint (black)
- small paint brush
- wax paper
- scissors
- sheet of cardstock
- washi tape
- printer
- wood stain
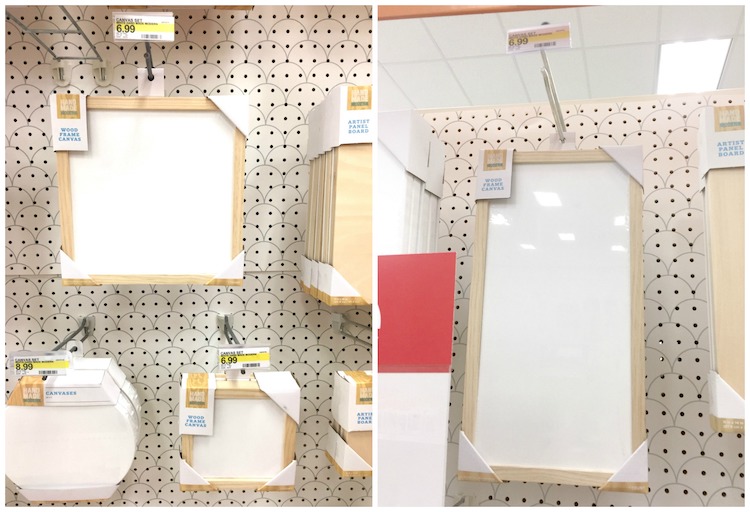
I found this wood framed canvas near the rest of Target’s Hand Made Modern line. Target also had two smaller square canvases. This one is 8″x16″ so its shape was ideal for what I needed.
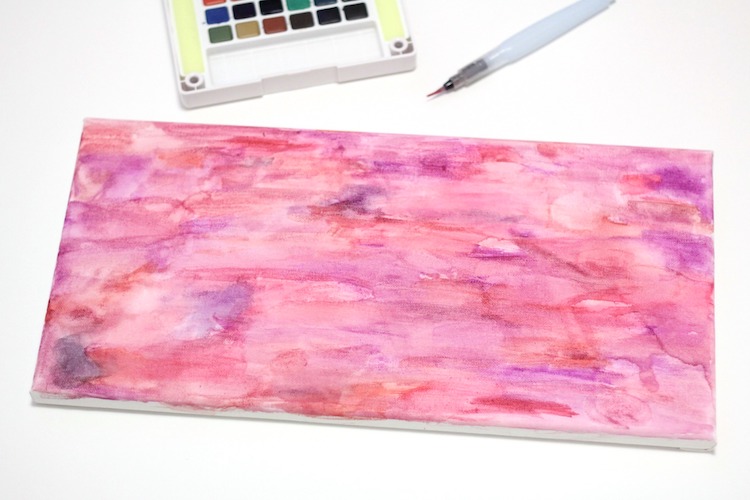
Pop the canvas out from the wood frame and set the frame aside. Use the watercolors to create whatever look you like on the canvas. Don’t worry if you’re artistically challenged like I am. Stick with a few coordinating colors and it will turn out great.
While you’re giving the canvas a chance to dry, decide on what word or phrase you want to use. A flowing, natural looking font will be easier when it comes time too paint. Type it up and resize it to fit the canvas. Flip it so it will appear the right way once it is transferred.
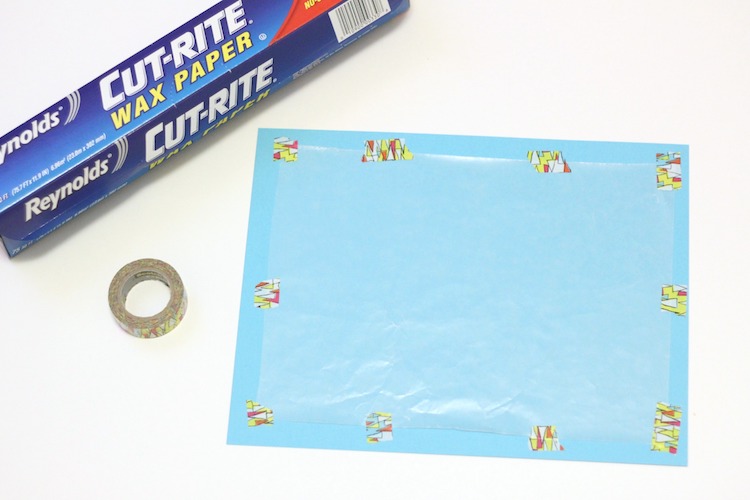
Cut a sheet of wax paper slightly smaller than the sheet of cardstock. Use washi tape to tape it to the cardstock. Place this in your printer and print the text. It might take a couple of sheets depending on how long your text is.
At this point you’ll want to be very careful with the printed wax paper. Don’t let anything touch the ink or it might smudge or rub off. If you have two or more pieces of wax paper with text, you’ll want to arrange them before doing the transfer. Simply line them up and tape them together.
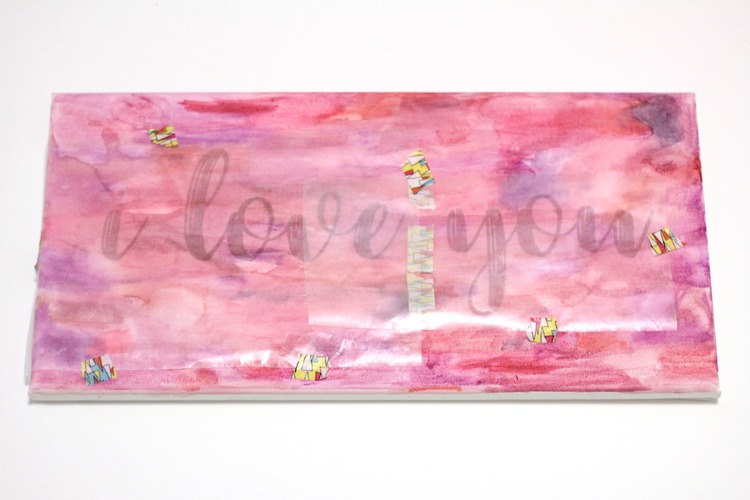
Once the watercolor canvas is completely dry you can start the wax paper transfer. Place the wax paper with the ink side facing down over the canvas. Once it has touched the canvas don’t move it or it will likely smudge. Use washi tape to secure it in place.
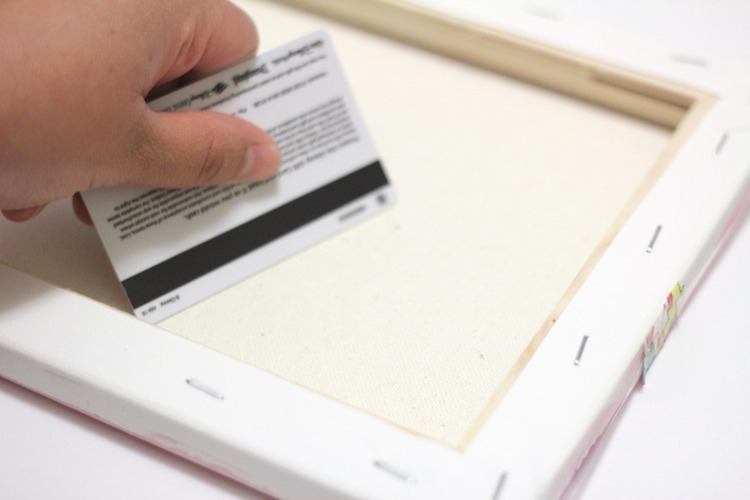
Flip the canvas over and use a plastic card to rub the back on the canvas. This will get the ink from the wax paper onto the canvas. Flip it over and remove the wax paper.
The transfer is faint but does the trick.
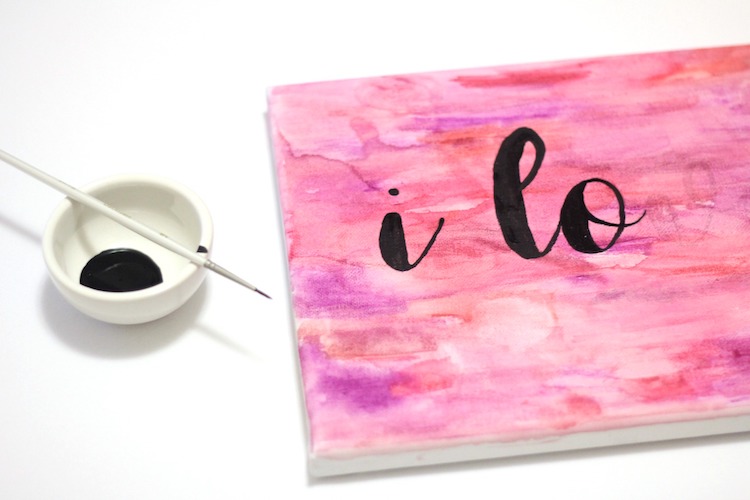
Now you’ll want to go over the outline of the text with a small detailing brush and acrylic paint. I was going to use white but decided black would stand out more. I’ve used this gold Hand Made Modern paint before and think it would look amazing here too. I start with the outline of one letter at a time, fill it in, and then move on to the next. Don’t worry about perfection here…enjoy that handmade look!
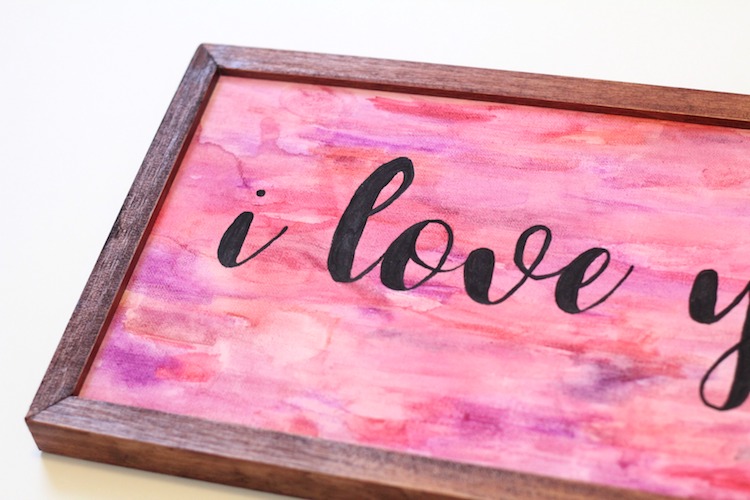
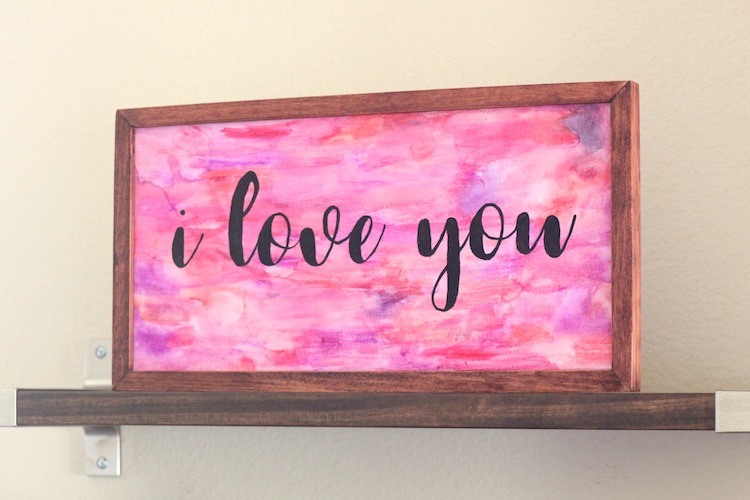
You can leave the wood frame as is, paint it a fun color, or stain it. I finished mine with a quick and easy wood stain.
I loved working with these wood framed canvases, so I hope Target keeps them around for a while. What word or phrase is going on your wall?
Analisa is a mom and avid DIYer. Along with her family, she will travel anywhere just to say she’s been. She writes about creating, parenthood, and her family’s adventures at Parental Perspective. She’d love to meet you so feel free to visit her on Instagram or Facebook and say hello!
Save
