DIY Pennant Banner
We may earn money or products from the companies mentioned in this post.

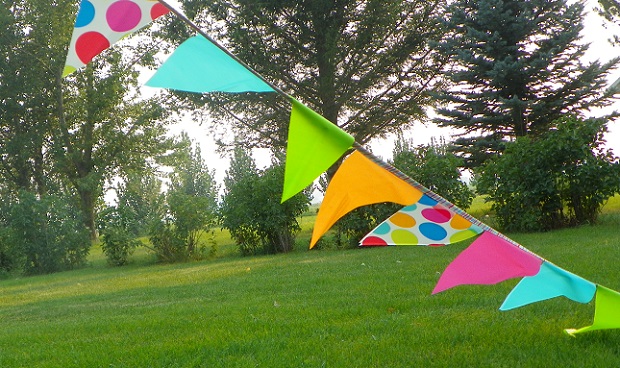
I love banners! I think every party should have one. They are so fun and bring a lot of color to the event. I’m going to show you how to make one that gives you a lot of WOW for very little money. Plus, you can customize it to whatever colors you need.
A few things you need:
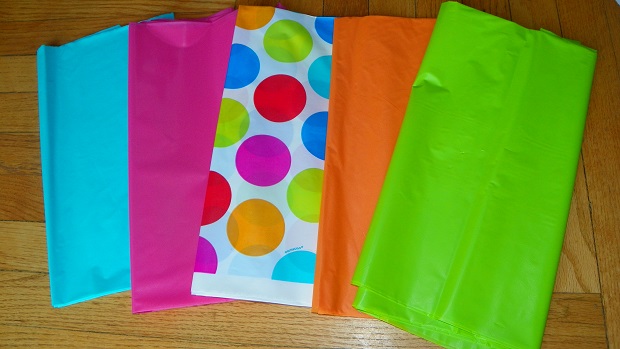
- Plastic tablecloths, whatever colors you like.
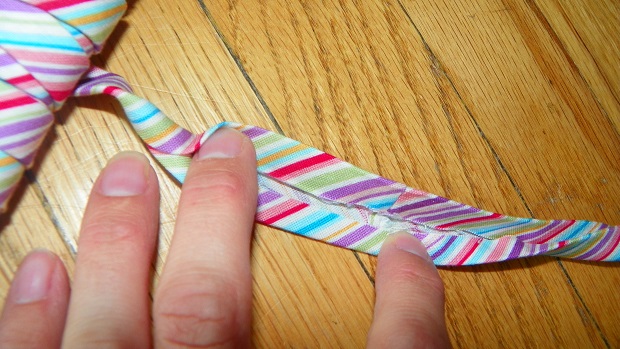
- Bias tape (Find this at a sewing or craft store by the zippers, or make your own)
- Thread
- 8 1/2 X 11 piece of card-stock
- Tools:
- Scissors
- Sewing machine
- Rotary cutter and mat
- Sewing ruler (not necessary but helpful)
A few helpful hints:
- The tablecloths from Target (blue and pink) are very high quality and very thick, my store only had a limited selection so I had to get some colors elsewhere. Another thing to be aware of is that if you are buying a patterned tablecloth make sure you know what the middle looks like and adjust accordingly. Many patterned ones are white through the center, you may need two tablecloths to make the amount of pendants you need. I used part of five tablecloths and got several yards of banner. I would guess close to 12 yards. The extra can be used for lots of other decorating projects.
- Bias tape is available at sewing stores. It is a strip of fabric that has both sides folded to the center and then folded on top of each other and ironed to make a crease in the middle. This makes a perfect pocket for our pendants to slide into. Bias tape from the store usually comes in solid colors, if you want a fun pattern you will probably have to make your own. It is time consuming but worth it. There are a lot of tutorials on the internet that explain the process far better than I can. Look for a tutorial about continuous bias tape.
Lets get started.
To cut:
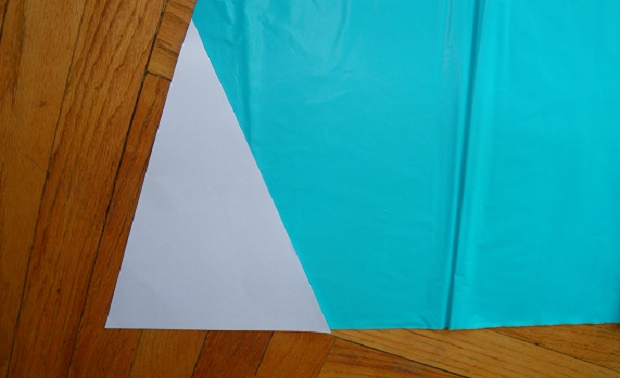
Take the sheet of card-stock and mark the center on the short side. Draw a line from both corners of the opposite side to the center mark. Cut on the lines, this will be your template for the pendants.
It is easiest to do this part on a cutting mat, lay out the tablecloth. Unfold the length of it to have a long strip, don’t unfold the width. Lay the template on the bottom fold, using a rotary cutter, cut both sides but not the top. If you have a hard time keeping it straight a ruler can be place along the edge.
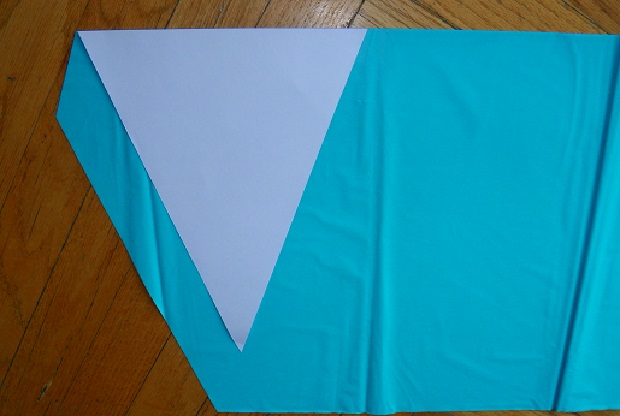
Turn the template around and line up the side with the previous cut and the top on the upper fold. Every other cut slide your template over so the corner will not be cut off, you will have some waste.
Some of the cuts will be a folded pendant and some will be two single pendants. I left the folded ones folded and layered the singles on top of each other.
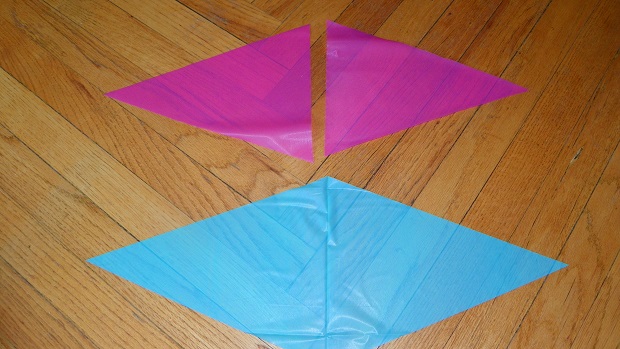
I found that having too layers intensified the color. You tablecloths will go much farther if you choose to do singles, if that is what you choose make sure to move the template up a little so you can cut along the top instead of leaving the fold.

To sew:
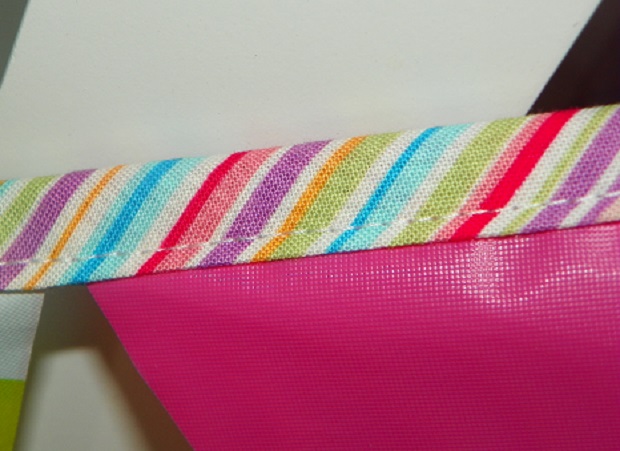
Take your bias tape and leave and few feet at the end to tie your banner up, put the bias tape under the pressure foot of your sewing machine and take the first pendant and slide it between the bias tape.

Make sure the pendant stays between the tape and start sewing close to the edge.
When you get close to the end of the first pennant put the needle down and raise the pressure foot up. Place the next pendant between the bias tape almost touching the first and begin sewing again. Continue until your banner is as long as you like. The sewing goes pretty fast. This is a great project to do with a friend, one can cut one can sew. I was lucky enough to have a friend help me, it took us a few hours to get ours done. I love how it turned out and can’t wait to use it for an up coming ice cream party. It’s versatile and sturdy enough that I’m sure it will last through may parties. I hope this inspires you to make something fun.

This post was created by All Things Target DIY/Crafter Kamee.