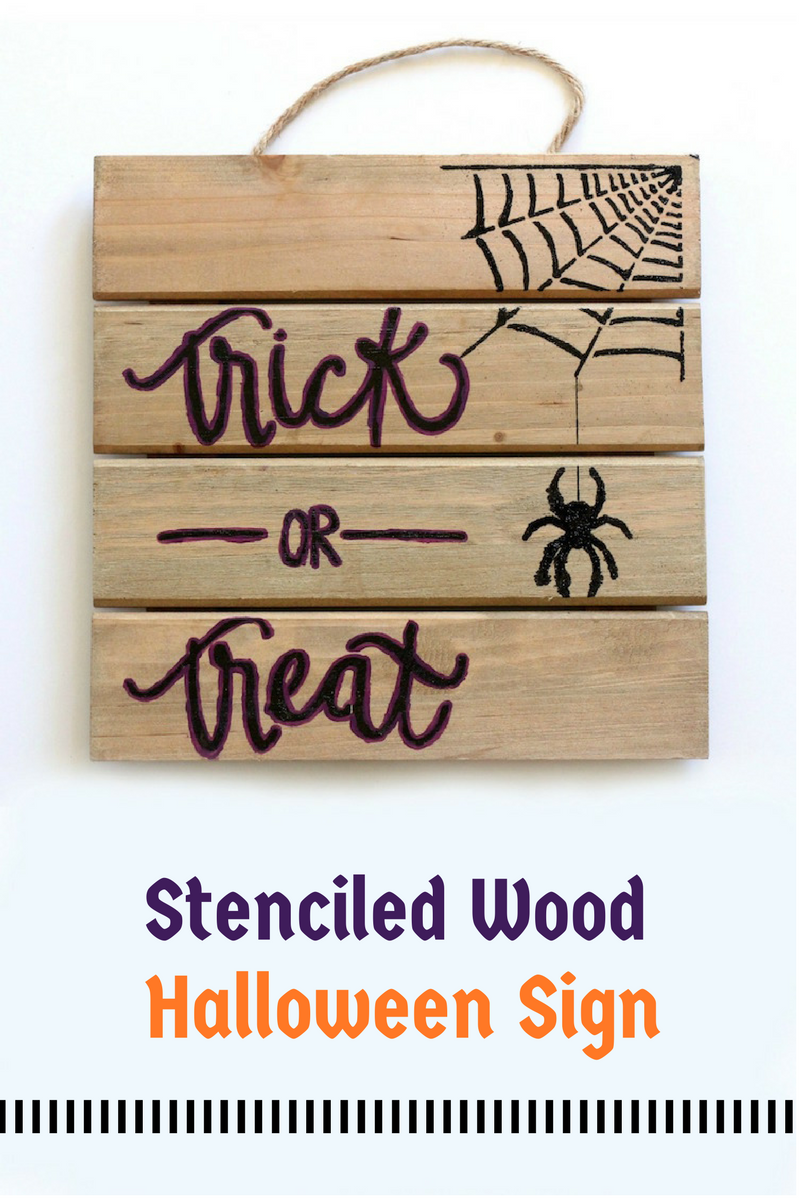
DIY Stenciled Wood Halloween Sign
We may earn money or products from the companies mentioned in this post.
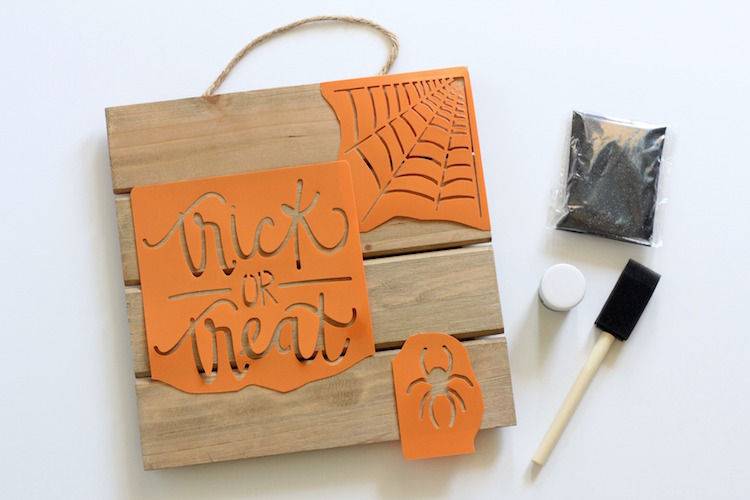
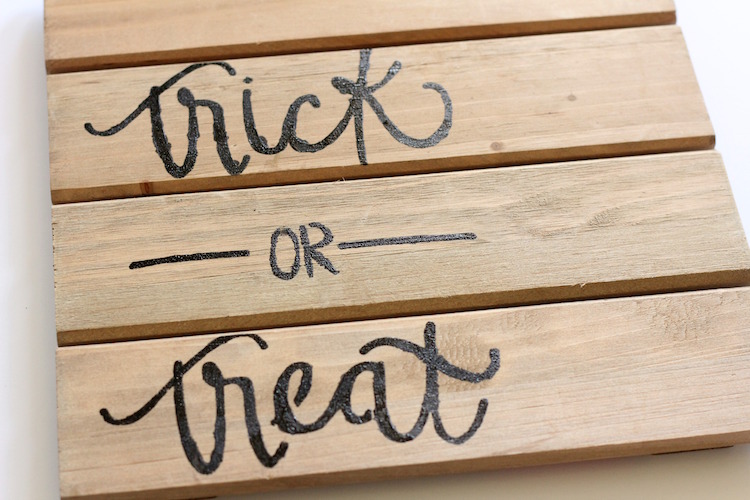
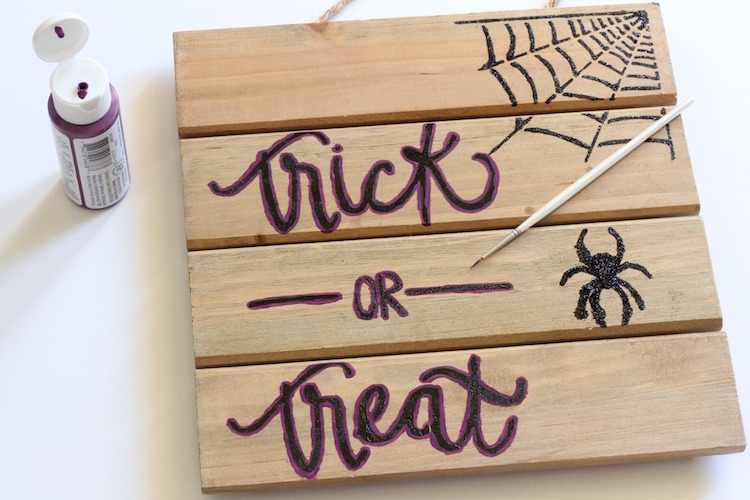
This pumpkin stencil kit and wood sign were sitting next to each other in Target’s Dollar Spot like they were meant to be together…and they are! If you’re in need of some handmade Halloween decor, make a run to Target for supplies and then come back and follow along.
You’ll need:
- pumpkin stencil kit ($3 from Bullseye’s Playground)
- plain wood sign ($3 from Bullseye’s Playground)
- scissors
- washi tape
- black pen
- purple paint
- small detailing paint brush

This pumpkin stencil kit is great because it comes with the stencil, black paint, foam brush, and glitter. Use scissors to separate the different parts of the stencil. Arrange them on the wood however you like.
I didn’t want too much of the design to fall between the slats of wood so I decided to paint one word at a time. Use washi tape to keep the edges of the stencil in place. Honestly, this isn’t the greatest brush since it doesn’t dip easily into the little container of paint. I recommend putting the brush in the paint then scrapping any excess paint back into the paint container. You don’t want too much paint on your brush at once. Dab the paint over the stencil instead of pulling it across.

Wash and dry the stencil in between painting each line so the paint doesn’t smear.
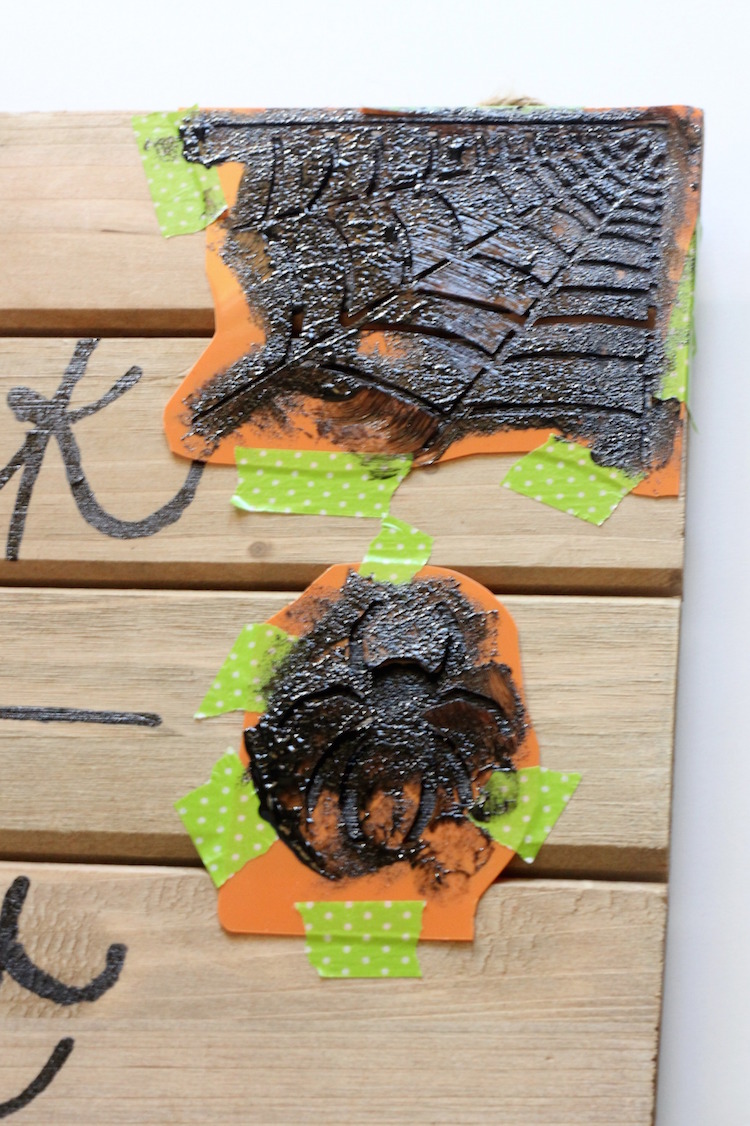
After the first part of the design is dry, use washi tape to placed the spider and web part of the design. Paint over it quickly without giving it a chance too dry to much.
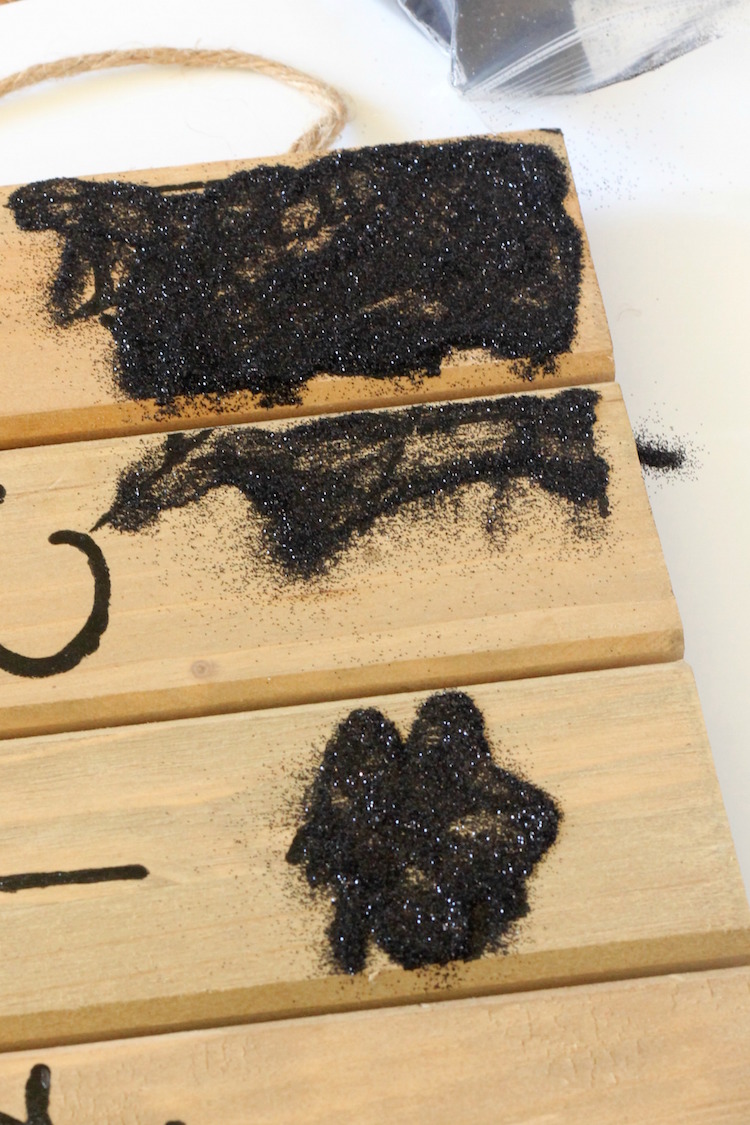
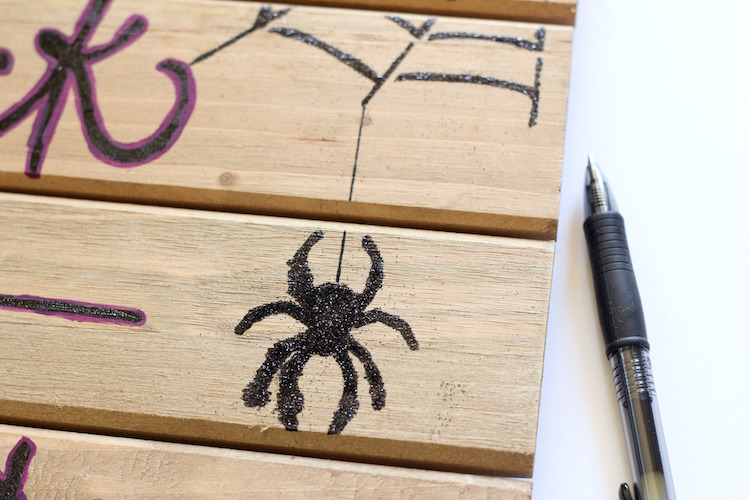
Remove the stencils and pour glitter over the wet paint. Shake any excess glitter off.
Even though I was trying to be careful, the paint still seeped under the stencil.
I thought it looked a bit plain so I decided to try and hide a bit of the bleeding and add color by hand painting around the words. Take some acrylic paint and a small detailing brush and carefully paint around it.
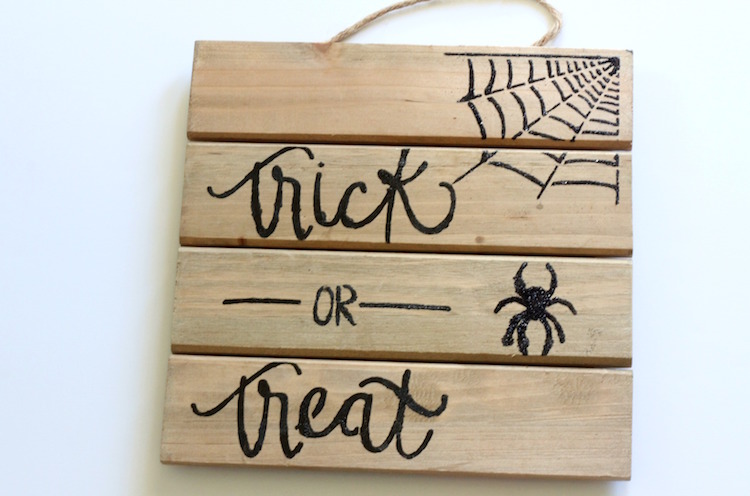
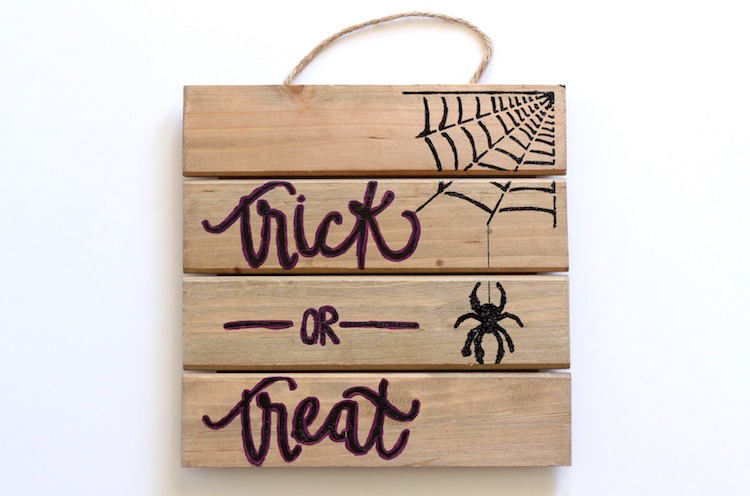
To finish it off I took a black pen and drew a line from the web to the spider.
I really like the way the purple looks around the letters. Since Halloween is one of my favorite holidays I love being able to add a DIY piece to my Halloween decorations.
Analisa is a mom and avid DIYer. Along with her family, she will travel anywhere just to say she’s been. She writes about creating, parenthood, and her family’s adventures at Parental Perspective. She’d love to meet you so feel free to visit her on Instagram or Facebook and say hello!
Save