Crafts · Holiday · Home Decor · Projects
DIY Halloween Lantern
We may earn money or products from the companies mentioned in this post.
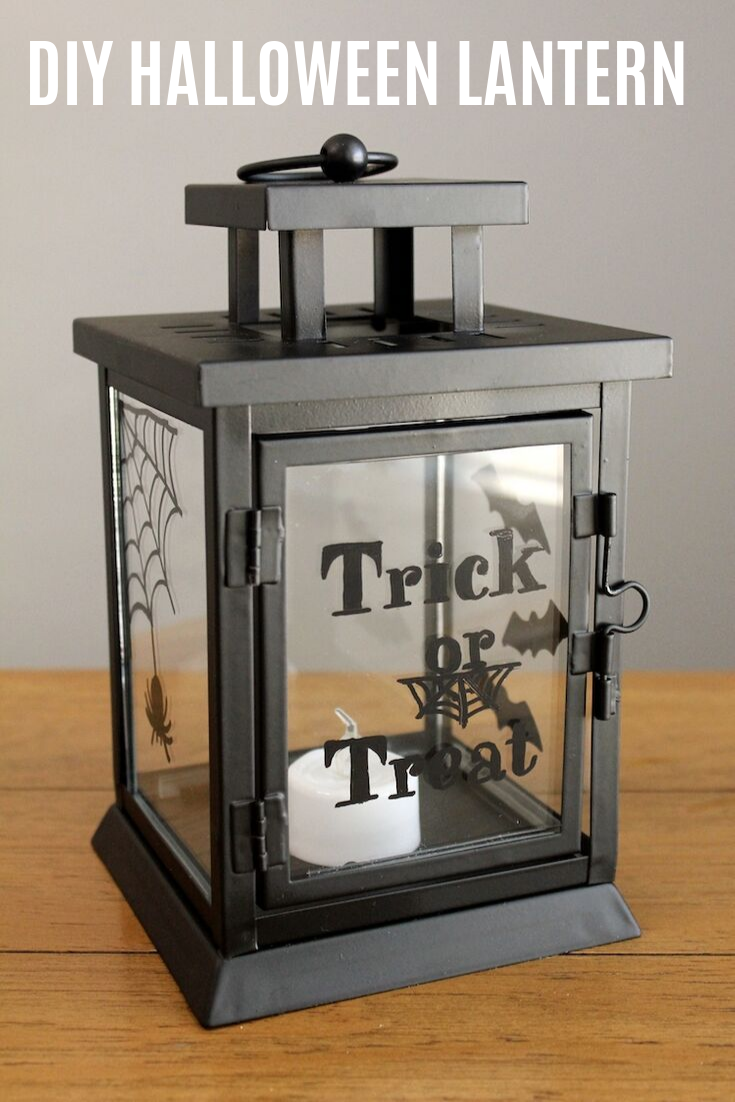 Target seems to put a different lantern in the Dollar Spot every time another season rolls around. The newest version is spectacular, with an LED tealight already built into it. All we need to do is add a few chalk pen doodles to it so it’s ready to join the rest of your Halloween decor.
You’ll need:
Target seems to put a different lantern in the Dollar Spot every time another season rolls around. The newest version is spectacular, with an LED tealight already built into it. All we need to do is add a few chalk pen doodles to it so it’s ready to join the rest of your Halloween decor.
You’ll need:
- metal lantern ($5 from Target’s Dollar Spot)
- chalk marker
- glass cleaner
- printer & paper
- scissors
- tape
 Start by cleaning the glass on the lantern.
Click here to print the “Trick or Treat” printable I created. Cut around the rectangular outline and position it inside the door of the lantern with tape.
Start by cleaning the glass on the lantern.
Click here to print the “Trick or Treat” printable I created. Cut around the rectangular outline and position it inside the door of the lantern with tape.
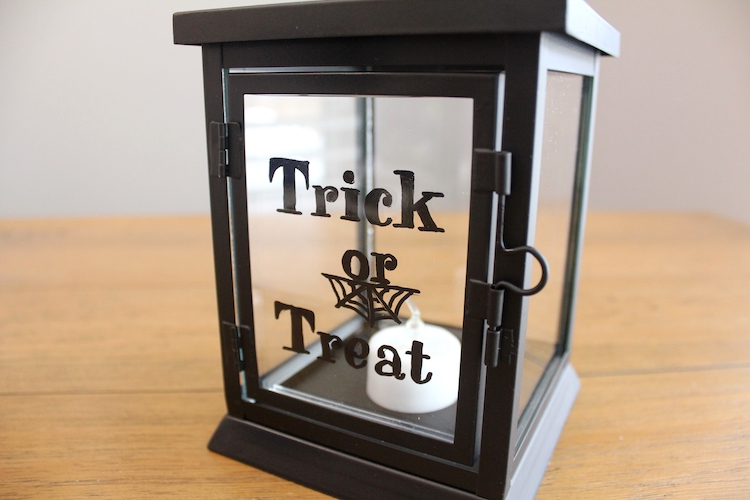
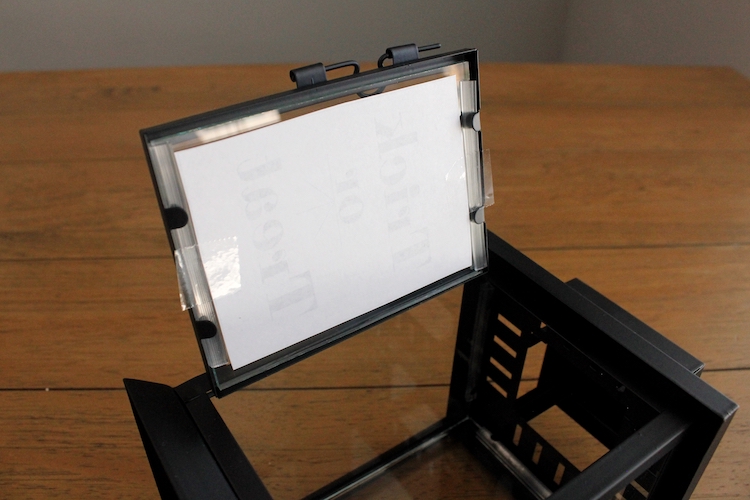 Use the printable as your guide while you trace over the letters with chalk marker. When you get to the spider web lines, all you have to do is add the curves to connect them.
 You can use glass cleaner to wipe the chalk marker off if you make a mistake. Don’t sweat the imperfections though. They add character!
 Decorate the other sides with Halloween doodles as simple or as intricate as you’d like. I can show you how I created mine.
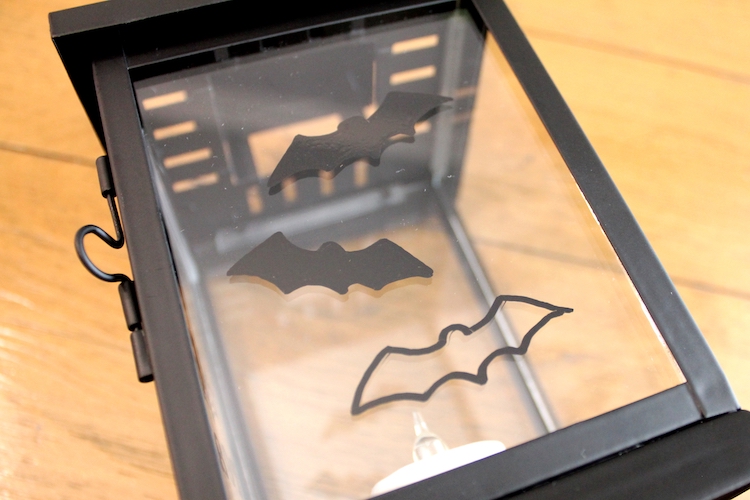
The bats are easy to draw. Start with the outline then fill it in.
Decorate the other sides with Halloween doodles as simple or as intricate as you’d like. I can show you how I created mine.
The bats are easy to draw. Start with the outline then fill it in.
 To create the spiderweb, start with lines coming from the corner and add the curves to connect them like you did before. The spider is an easy doodle, with legs added to a couple of circles hanging from the web.
 That’s all there is to this easy to doodle Halloween lantern. Since the chalk maker can be removed with glass cleaner, you can even decorate it for each new holiday or season.
 Analisa is a mom and avid DIYer. Along with her family, she will travel anywhere just to say she’s been. She writes about creating, parenthood, and her family’s adventures at Parental Perspective. She’d love to meet you so feel free to visit her on Instagram or Facebook and say hello!