DIY Gratitude Pumpkin
We may earn money or products from the companies mentioned in this post.

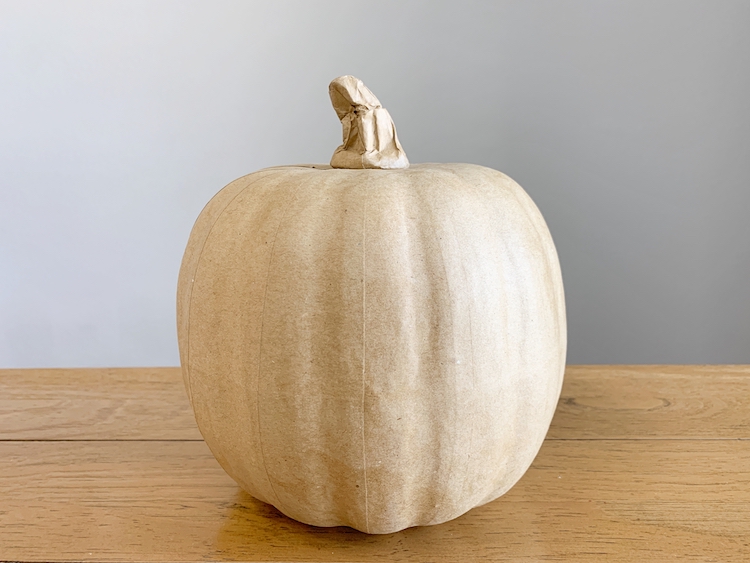
This year I wanted to start a new tradition for our family with a gratitude pumpkin. If you haven’t heard of a gratitude pumpkin before, it is simply a pumpkin you write things you’re thankful for on. Since I want to keep and display ours for years to come I’m using a faux pumpkin.
You’ll need:
- large paper mache pumpkin
- white acrylic paint
- Hand Made Modern 20k gold acrylic paint
- foam brush
- paint brush
- thankful sticker or vinyl
- gold sharpie
If you want to create one without having to DIY a thing, Target has plenty of pumpkins to choose from. I wanted to create my own so I started with a Spritz paper mache pumpkin.
Use a foam brush to put a layer of white paint all over the paper mache pumpkin. Acrylic paint is fantastic for this because it dries quickly. Add a second coat of paint once the first layer is completely dry.

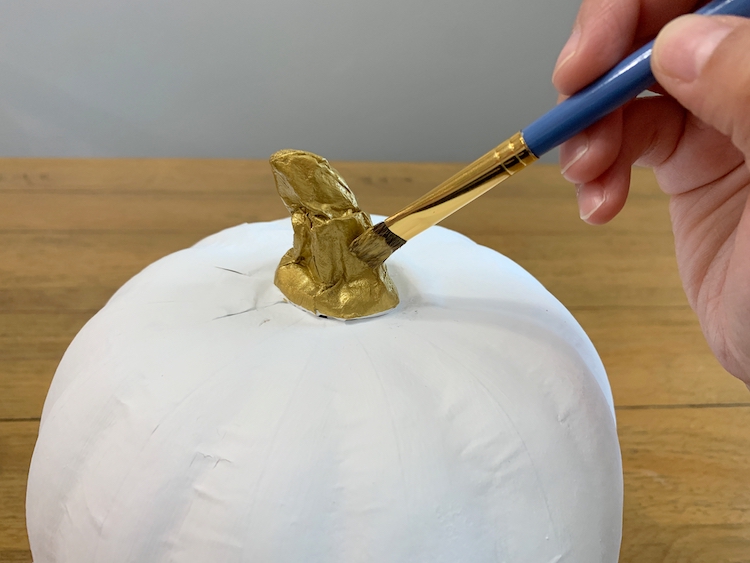
Use a paintbrush to cover the stem of the pumpkin with paint. Hand Made Modern’s 20k gold is my go to gold paint.
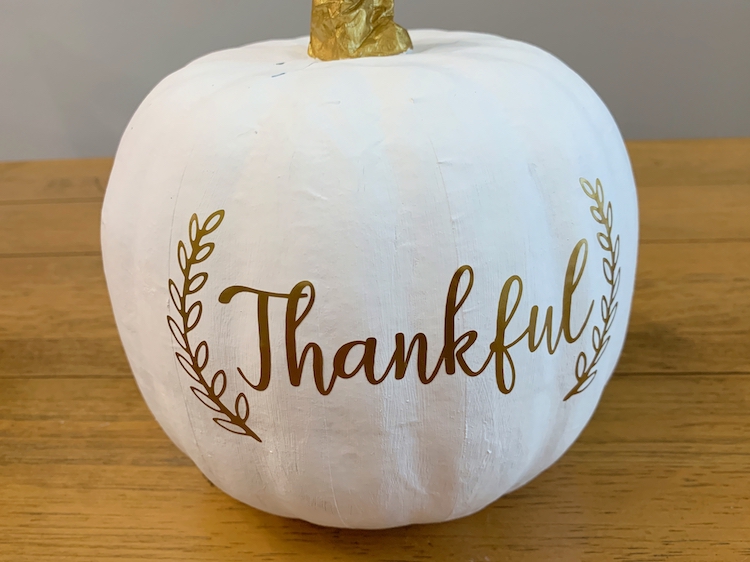
I used my vinyl cutter to add “thankful” in gold adhesive vinyl. Target had sheets of adhesive vinyl in the Dollar Spot that would be fantastic for this! If you don’t have a vinyl cutter, try using a sticker or even free handing it yourself.
I like the look of gold sharpie next to the gold on the rest of the pumpkin so that’s what we’re using to write on it.
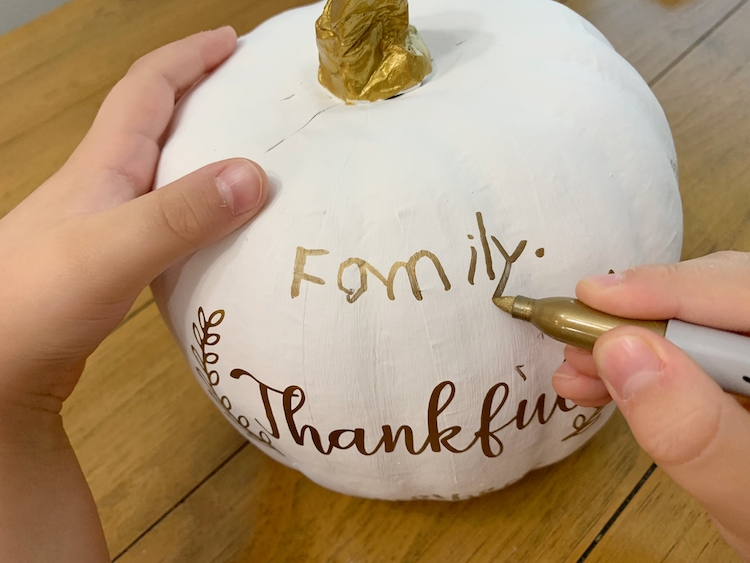
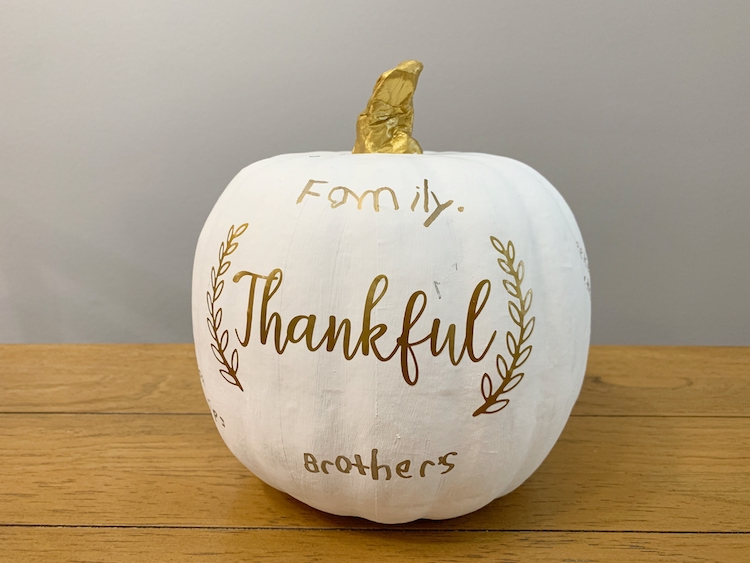
I think what makes this gratitude pumpkin work really well for my family is that we can add to it whenever we want. My son was already excited to be able to write a few of his favorite things on the pumpkin. It will be such a sweet memory to look back on in years to come.
Analisa is a mom and avid DIYer. Along with her family, she will travel anywhere just to say she’s been. She writes about creating, parenthood, and her family’s adventures at Parental Perspective. She’d love to meet you so feel free to visit her on Instagram or Facebook and say hello!